
How to resharpen Hedge shears by us
https://www.youtube.com/watch?time_continue=5&v=TQGPWikiC9U
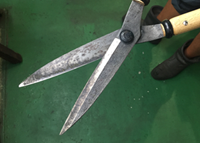
<Before resharpening>
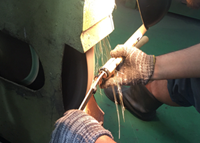
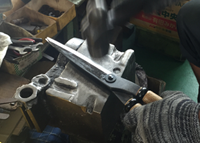
Step1: Rivet removal
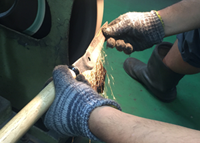
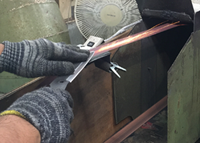
Step2: Distortion removal
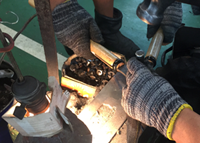
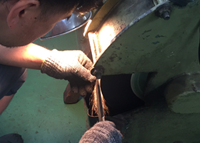
Step3: harpening a nicked or blunted edge using a grinding stone
Step4: Polishing the back of the blade to remove any stains or rust.
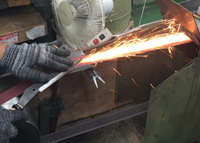
Step5: Rough polishing of the blade’s edge.
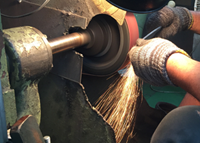
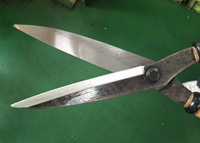
Step6: Final polishing of the edge.
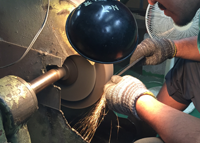
Step7: Final polishing of the back.
Step8: Hatsuke (Customer specific final polish) and removal of any excess.
Step9: Tightening of the rivet
Step10: Final adjustment for the blades
Step11: Wiping with oil/ finishing
How to resharpen Hedge shears by customers
<What you need to prepare>

Grinding stones:
There are no hard and fast rules for grindstones, generally use of both a rough grade (#300~400) and middle grade (#800~1000) will achieve the desired result.
*Diamond grindstones can be used if available.
Rust prevention, Lubricating oil (oil for blades):
Oiling the blade is an important step for the prevention of rust/wear and ensuring that there is sufficient lubrication for smooth movement of any joints.
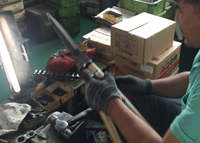
Sharpening stand :
This device holds the pruning shears steady during the sharpening process.
Dry cloth
Dry cloth is used to wick away moisture from the grinding stone when water is used.
<Tips before polishing>
- It is easier to polish before cleaning the blade surface with a special blade cleaner.
- The best finish is achieved by progressing from rough to middle and then to fine grade on the grinding stone.
- Please be careful and watch your surroundings while grinding.
<How to polish>
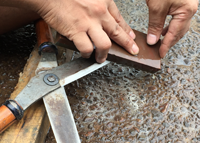
Step1: Remove any tar and dirt off from back of the blade.
- 1.Attach the pruning shears securely to the stand.
- 2.Start polishing from the blade edge to the base while moving it backwards and for-wards relative to the grindstone.
- Note:Polishing the back to a high degree will be difficult, focus on removal of tar and dirt rather than finish.
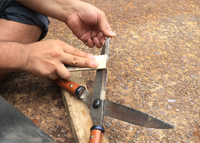
Step2: Polishing the edge of the blade
- 1.Carefully check the blade shape and angle before applying it to the grinding stone.
- 2.Start polishing from the blade edge, working from the tip to the bottom of the blade.
- *Polish the blade until the burr or excess has been removed.
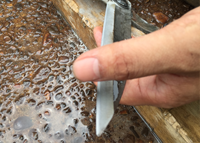
Step3: Removal of a burr or excess from the back of the blade.
- 1.Excess and burrs are removed from the back of a blade by titling 20-30 degrees and moving from the blade edge to the bottom. Moving it backwards and forwards a few times until smooth.
Step4: Dry it up and coating oil Drying and oil coating
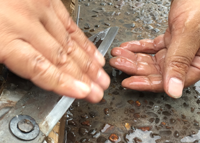
- 1.Wipe any moisture off from the blade after polishing.
- 2.The final stage of the process is to coat the blade with oil.